New Header

Image Map
Showing posts with label ideas. Show all posts

Friday, August 28, 2015

Good Advice from Johnny Quinn: Think Like An Olympian

Our team had a great meeting last month, looking at change in our organization and the ways that change is leading to opportunity.

Yes - change, while tough at times, can be a good and invigorating thing.

As part of the change opportunity discussion, we had an opportunity to hear from U.S. Olympian Johnny Quinn (of Sochi Olympics fame). His message to us was fantastic - stay prepared, stay focused and be ready to move.

Honestly, his advice was great regardless of whether you're in an organization that's going through change, or you're in midst of some sort of personal transition, or you're training for a fitness goal - and I'm paraphrasing his advice below:
  • Be a learner
  • Be intentional
In so many ways, Johnny's presentation summed up the journey that Kelly and I have been on for the past four years. You can't be afraid to make a change when the opportunity presents itself. Equally important, you can't stop learning and growing while you wait and while you're transitioning. Learning comes from a variety of sources: Books, podcasts, mentors and friends.

Self-imposed life stagnancy will limit your growth.

The thing about stagnancy, though, is that it can catch us by surprise. We get so busy living, working, doing that we forget to pause and consider our intentions, goals and dreams.

You don't have to be an Olympian to think like one. You just need to be willing to continue thinking instead of living on autopilot.

[ For more information on Johnny and his Think Like an Olympian approach, visit his website at www.JohnnyQuinnUSA.com. ]


Tuesday, July 1, 2014

Easy Fruit Infusing

With the increased humidity that accompanies summer in North Texas, along with the start of a new marathon training season, Kelly and I need to amp up our water intake.

Drinking water, though, can be boring. Very very boring.

We do a variety of things to encourage ourselves to drink more. We add small amounts of water or juice. We'll even drop a few slices of lemon or lime into a pitcher of water.

I recently discovered yet another way to make fruit infused water that, as a bonus, also keeps our water nice and cool.

Simply freeze your favorite fruit nectar in an ice cube tray:


And freeze. Simple!


When you're ready, drop a juice ice cube into water and let it leech delightful juice flavor. We put it in a to go bottle and add the juice-flavored water to plain water throughout the day.


Friday, December 20, 2013

Clean That Drain - Naturally

I decided the other day to clean our long-suffering garbage disposal drain.

That may or may not have been a decision made after becoming a bit stir-crazy during our ice-in. Or perhaps it was the sink's slow draining while we had the taps running to prevent pipe freeze.

Anyway.

Several months ago I found a great tutorial online here and saved it on my Pinterest for a rainy - or icy day. Her site also has several other natural and inexpensive methods for cleaning your home.

Step One: Pour 1/2 cup baking soda into the drain.


Step Two: Pour 1 cup of vinegar down the drain. It will react with the baking soda, bubbling up. Let sit for a couple of minutes.


Step Three: Pour a cup (or so) of boiling water down the drain.


Step Four: Add 1/2 cup (or so) of ice chips.


Step Five: Turn on the garbage disposal to churn up the ice chips. Run some water to help them go down. (Please ignore my dirty sink - cleaning things has a funny way of making other things dirty in the process!)


Step Six: Add 1/2 cup of coarse or Kosher salt. Continue running the garbage disposal.


Step Seven: Grind a few slices of lemons to make everything smell nice. You may need to pull the peel out afterwards. Because I used thinly sliced lemons, mine was able to completely grind and go down the drain.


Step Eight: Scrub, scrub, scrub the inside of the drain with a long handled brush. Note: Make sure the disposal unit is turned off before you start scrubbing! I won't horrify you with what you'll scrub loose. It's disgusting - that's why it's necessary. Make sure you scrub the rubber flaps and the rim of the drain.


Step Nine: Clean the sink and enjoy the fresh smelling everything!!


Tuesday, September 10, 2013

Save the Berries!!

We're in the midst of a late-summer berry bonanza in North Texas. Raspberries, blackberries, strawberries and blueberries are all available, sweet and juicy, and at prices too good to let pass.

But berries are notoriously tough to keep fresh when they are this, well, fresh.

Unless you know a little trick: Vinegar. I stumbled across this tip on Pinterest last year and have followed it ever since with great results.

Vinegar, that inexpensive household friend, helps slow the growth of mold by killing bacteria lurking on your berries.


Simply mix one part vinegar to 10 parts water. Dump your berries in and swirl them around a bit so they all get nice and wet.


Then drain thoroughly.


Your berries will stay nice and fuzz-free for at least a week - no small miracle. Mine stay good even longer, since I'm rinsing, draining, drying and freezing as fast as I can so we can enjoy berries for months to come.

Monday, May 6, 2013

Fixing a Running Problem

This isn't about running form or sore feet or chafing.

No, this is about another running problem: Rust stains.

Sometimes you're given bum safety pins to attach the race bib to your shirt. Unfortunately, you don't know that you have bum safety pins until after you remove the pins and find that your massive amounts of sweat have left this on your shirt:


Bummer.

That's what happened to The Boy. On a new running shirt. He asked me if I could figure out how to remove the stain.

Let me tell you, it's never a good thing when the first Google result tells you that "Rust stains are among the most difficult to remove from clothing."

Right then I was determined to conquer the rust - for The Boy and for my pride.

After the required "difficult" disclaimer, Google told me to try a combination of salt, lemon juice and sunshine.

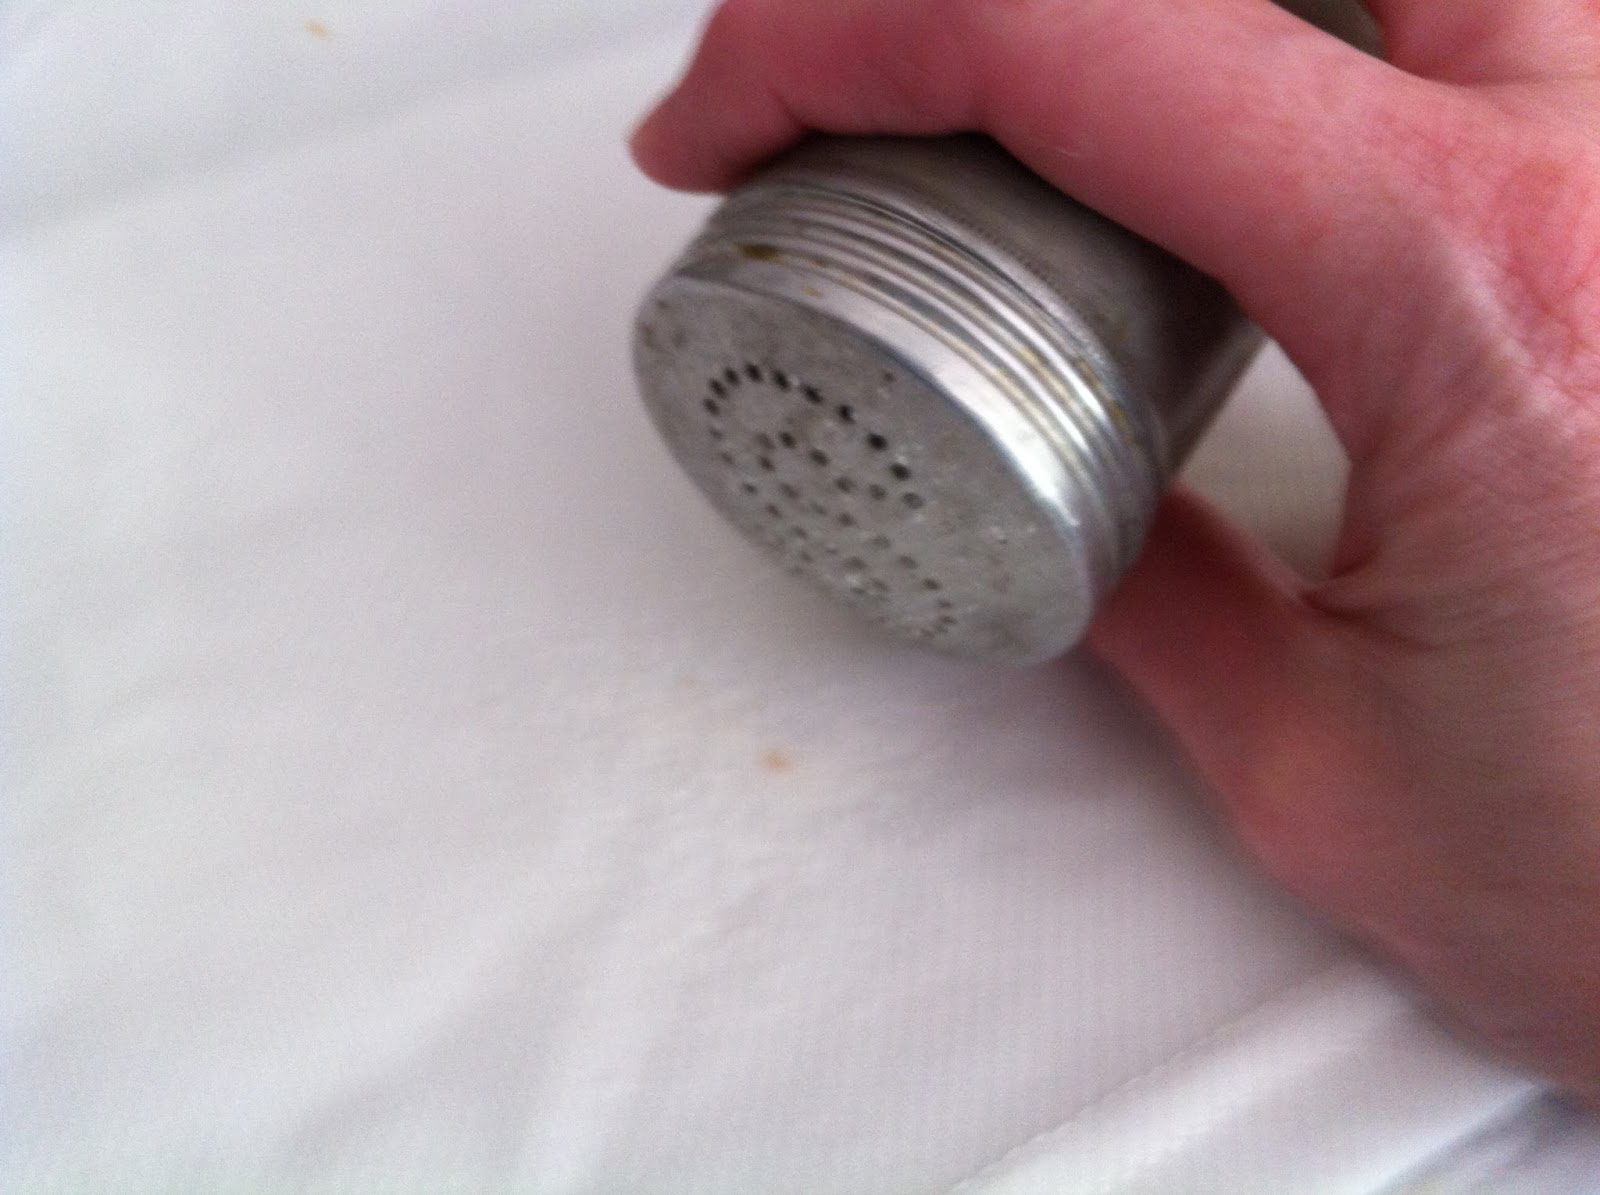
First, sprinkle salt on the stains:


Then add lemon juice:


Set the garment in direct sunlight until the juice dries.


Then wash as normal. Before I tossed the shirt in the dryer (after which any remaining stain would have been set for-ev-er), I took a look.

What do you know? No stain.


VICTORY!!!

My required disclaimer: I would be nervous about trying this technique on a colored shirt, as the treatment would probably discolor the material.

Friday, April 12, 2013

Inexpensive Spruce-Up...and Testing Martha Stewart

I had cruddy mismatched carpet tile samples in my laundry room (aka the air lock...currently one of our most-hated spaces in the Hayley House).

It was time for them to go.

After months of looking, I finally found a rug that would work (I needed a difficult size: 2.5'x4') on clearance at Target.

Yay!


I didn't want to spend a ton of money on this project, I didn't want to buy a rug gripper pad to hold it in place. So I used a trick from Martha Stewart (found via Pinterest) to give the rug grippy-ness (is that a word): caulk.

A few lines of acrylic-latex caulk, every six inches did the trick. Let it dry completely, then put your rug in place.  


I've read reviews that this isn't a smart solution if you have wood floors because it can cause fading. I, however, have funky linoleum in the laundry room and wasn't really concerned about potential damage.

It works just as expected. I don't know if the caulk will stay on when I wash the rug - it was worth the $2 to try it out, though.

For now, my rug stays where it should and looks much better than my mismatched sample carpet tiles.

Saturday, March 23, 2013

Help - Agave/Syrup/Sap Spillled!

This story begins at the intersection of thoughtfulness, warm weather and false advertising.

During my pantry purge, I found not one - but two - bottles of agave nectar. Why I had two bottles, I'll never know. But the great irony of the agave was that we quickly discovered after buying one bottle that agave wasn't for us. Too sweet.

Yet here I had two.

So I thought about what to do and decided I couldn't bear to throw perfectly good agave away. One of my friends, Random Cathy, loves agave. I resolved to give it to her when we met for our evening Ethiopian dinner.

I parked my car at a nearby train station to head downtown for work and left the agave bottles in the car. Why carry them to work and back to the train station? Right?

That day was the first warm spring day we'd had in Dallas - not hot, but warm. Apparently it was warm enough to cause the bottles to expand.

No problem - the bottles are equipped with a "No Drip Cap." It even says so on the bottle.

 
You can imagine my surprise, then, to find this all over the interior of the car. That definitely looks like a drip - nay, a spill - to me.
 
 
So what would you do if you found agave, which very much resembles syrup or sap (very very thick and sticky), all over your car seat?
 
Right. You google what to do.
 
Multiple sources recommended using oxygen bleach cleaner, warm water and arm muscles.

 
Mix about 1 tablespoon of oxygen bleach with one quart of warm water.


Using a clean rag, thoroughly soak the stained upholstery with the mixture. (Key word - thorough) Let stand for 10-15 minutes.

 
Scrub the stains with the clean rag, then soak and stand 10-15 minutes again.

Allow everything to dry, then use a brush to rough up the material, putting texture back in.

 
Not the same as brand new (because this car is far from new), but better than a stained mess of stickiness.

Tuesday, March 5, 2013

Two Pinterest Tips Worth Trying

The test subject: The guest shower that's been a bit grody since we moved into the Hayley house nearly four years ago.

Test one: Vinegar cleans hard water off of shower heads.

Like I said, our guest shower has been a bit grody. This isn't technically dirt, but it is an abundance of hard water build up.


According to Pinterest, you can fill a baggie with a 1/4 cup of vinegar, tie the baggie around the shower head and let it sit for several hours or overnight.


I opted for a few hours. Here's the result:


Not perfect, but if I'd let it sit the recommended length of time, I'm sure it would have been.

Test Two: Bleach-soaked cotton wool removes stubborn mold and mildew.

I stopped at Sally's Beauty Supply to pick up cotton wool (also called "cotton coil"), used for protecting the scalp and neckline during perms.

Side note: While I was looking for the cotton wool, the sales clerk said, "Are you trying that Pinterest tip for mildew?" Pinterest really gets around!


Obligatory photo of mildewy grossness. I'm not zooming in because I can't stand to look at it - why should you?


Soak the cotton wool in bleach. Arrange the bleachy-wool on mildew/mold and let sit overnight.


Return the next morning, pull the cotton wool off and stare at the results.


Holy cow does this ever work. You might - just might - call your husband and ask him to come upstairs to see the difference.


It's amazing. Just amazing!

Saturday, February 2, 2013

Oven Baked Bacon: This One's for You, Mom

When my family was here a few weeks ago, I made bacon for breakfast. Real, less-than-healthy-but-tasty pork bacon.

Now I usually purchase turkey bacon - have for years. So why did I make pork bacon? Because a couple of cute young'ins specifically asked for it.

You might as well give me the Best Aunt in Texas Award now.

Anyway, I was commenting while cooking the bacon and battling the grease splats that if I wasn't in such a rush I would have oven cooked the bacon.

That's when my mom said, You'd do what?

The Boy and I explained that it was the better way to cook bacon - less messy and fuss-free. So this post showing how to cook bacon in the oven is especially for my mom.

(But you can read it too, even if you're not my mom.)

Line a baking sheet with aluminum foil. Lay the bacon on the foil.

Note: If you want to reduce the fat even more, place a cooking rack on top of the foil, spray lightly with cooking spray and place the bacon on the rack. The fat will drip down as the bacon cooks.


Place the baking sheet into a cold oven. Turn oven on to 400F and set the timer for 20 minutes.


Check on the bacon before removing from the oven. Depending on how crispy you like your bacon, you may want to cook it for another 2-5 minutes.

Place the cooked bacon on a paper towel lined plate to blot up any additional grease.


Let the bacon-fest commence!

Saturday, January 26, 2013

Removing Silver Tarnish: How Pinterest Sometimes Sort-of Lies

I saw a pin on Pinterest many months ago that I knew I had to try out: A how-to on removing tarnish from your silver all at once.

Here's the how-to photo:


And the instructions:
De-tarnish ALL your silver ALL at once... line your sink with aluminum foil, add 1/2 c table salt, 1/2 c. baking soda, fill with hot water, then dump in all your silver! Let sit for about 30 min. The tarnish all transfers to the foil!
Sounds amazing, doesn't it? Yes, I thought so, too.

That's why when I noticed this on my kitchen counter top, I knew I had to give that pin a try:


I lined my sink with aluminum foil:


I added 1/2 cup table salt:


And 1/2 cup baking soda:


And I filled with water. About 2 minutes later, I realized that I should have put the stopper in the sink before lining with foil, adding salt and baking soda because the water was draining out as fast I as added it.


Oops.

So I started over - stopper, foil, salt, baking soda, hot water. Check, check, check, check, check.

Then I dumped in my silver basket, let it sit for 30 minutes and waited to see what happened.

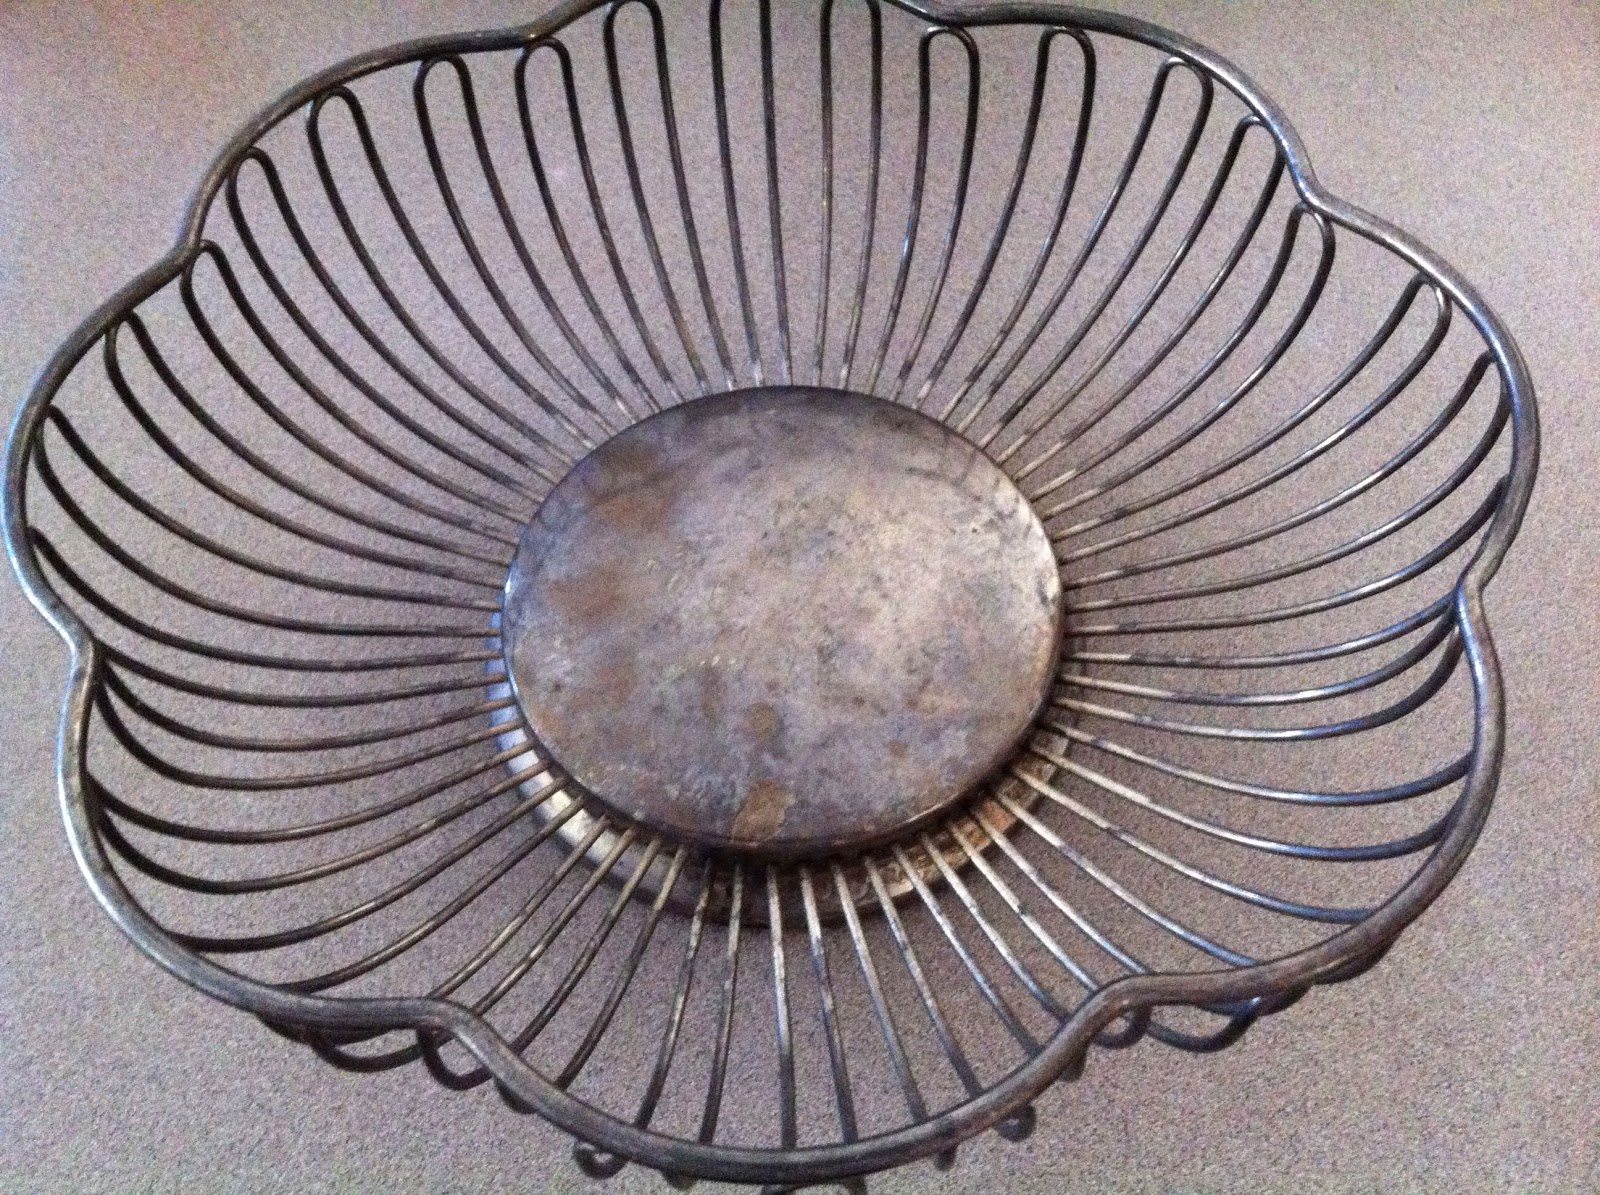
The truth is - nothing much happened, except for now having a very soggy silver bowl. I didn't really see any tarnish transferred to my foil.

The tarnish did rub off fairly easily when I buffed it with a clean towel. But let me be clear: I really had to buff that baby.

Which made me stop and think - Don't you have to buff your silver with silver polish to remove tarnish?

Which then made me think - How is this any easier than simply using silver polish?!?

You be the judge. Here's my "final" product:


Fair enough, I got tired of buffing. That may be because it was very tarnished (nee black?), or it may be because I decided to try this pin out while I was suffering from the debilitating effects of a stomach virus. Either way, buffing got old after about .2 seconds.

Here's a side-by-side in case you can't tell the difference:


Still can't tell much of a difference? Me either.

Friday, January 11, 2013

Clean Your Washing Machine (Please, Shannah, Do It!)

Since I (accidentally) showed you my disgusting washing machine yesterday:


I thought I'd better show you how to clean a washing machine.

First, fill the wash tub with hot water. Add 3-4 cups bleach. Allow the machine to agitate for 1 minute, then let it sit for an hour.

Those black specks in the photo? Let's
just say they aren't specks. Ick.

Restart the machine and run it on its longest cycle.

When the cycle ends, fill the wash tub once again with hot water. Add 3-4 cups white vinegar. Allow the machine to agitate for 1 minute, then let it sit for an hour.

Vinegar is your cheapest best cleaning friend.

While the vinegar water is sitting, dip a gentle scrub brush in the water and go to town! Make sure you scrub the lid, hinges, knobs, basket edge and so on.


Do the same with a rag. Use it to get up and under the rubber gaskets and inside the various dispensers.

If your dispensers aren't removable, microwave a cup of pure vinegar for 1 minute, then pour into the dispenser. Let it sit for a while - the vinegar will dissolve the soap scum, making for easier cleaning.


Restart the machine and allow it to complete its full cycle. Dry everything thoroughly and marvel at how sparkly clean your machine now is!


Vow to never let it get that dirty again. Seriously - you should deep clean your machine a couple of times a year...not a couple of times a decade.